Sourced from: https://www.loveandrenovations.com/bathroom-tiling-tips/
It’s week 3 of the Jeffrey Court Renovation challenge, and we’re chugging right along! Today we’re looking at the progress we’ve made so far and I’m sharing some bathroom tiling tips.
Well, I’m officially exhausted.
Doing a major bathroom renovation in six weeks is no joke, and this week I am feeling it.
But, oh boy, do we ever have some progress!
If you’re new here, let me catch you up. We’re participating in the Jeffrey Court Renovation challenge, which is a competition-style challenge where 15 different bloggers are all renovating rooms in their home in just 6 weeks. One person will win $5,000 at the end, and we’re seriously hoping it’s us – you can VOTE FOR US beginning today by clicking right here! We’re renovating our kids’ bathroom, and I’m so, so excited to get it done.
- In WEEK ONE, we shared the before photos of the bathroom, along with our design plan.
- In WEEK TWO, we started demo and shared some details of how to demo a bathroom.
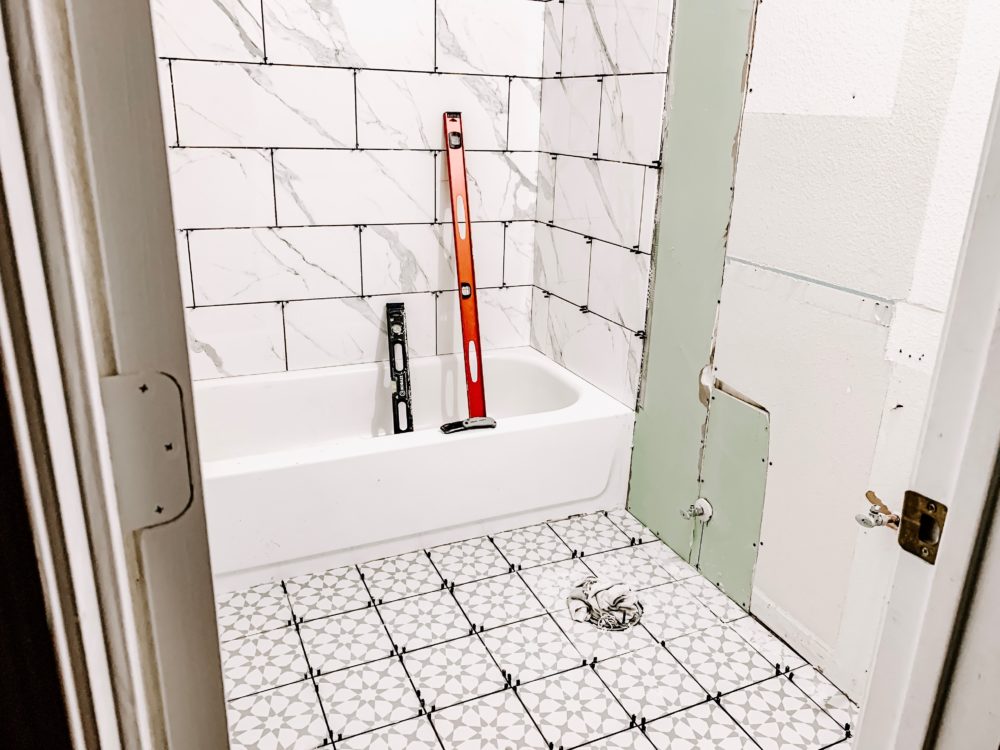
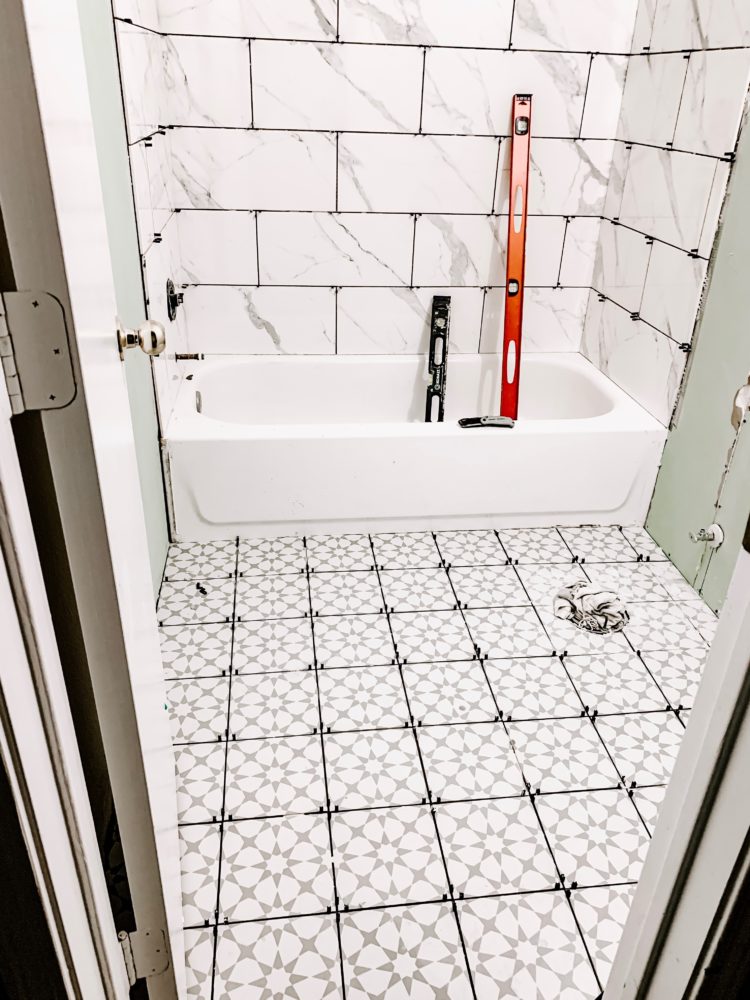
This week was all about the tile. As a reminder, we’re using Jeffrey Court’s 6X18 Carrera Ink Jet Tile for the shower and the 7X7 Castelletto for the floor. You can see this week’s renovation log below, or you can click here to watch the video on YouTube!
This post contains affiliate links. Click here to read my full disclosure policy.
I’ve already done a full tutorial on how to tile, so I’m going to skip that here. Instead, I’m going to share a few tips and tricks specific to tiling in the bathroom, and just show you some pretty pictures of how things are looking so far.
After demo was complete and everything was cleaned (including replacing some insulation and plastic moisture barrier), we re-installed backer board. We’ve learned through renovating a couple of bathrooms that a lot of homes just have drywall behind the shower tile. This isn’t ideal! This one actually had two layers of drywall under the tile, which you can tell if you look back at the before photos and note how far the tile sticks out from the wall. It was strange, and the look always bothered me! We installed cement backer-board, which is meant for areas that are exposed to a lot of water, and it should be much longer-lasting.
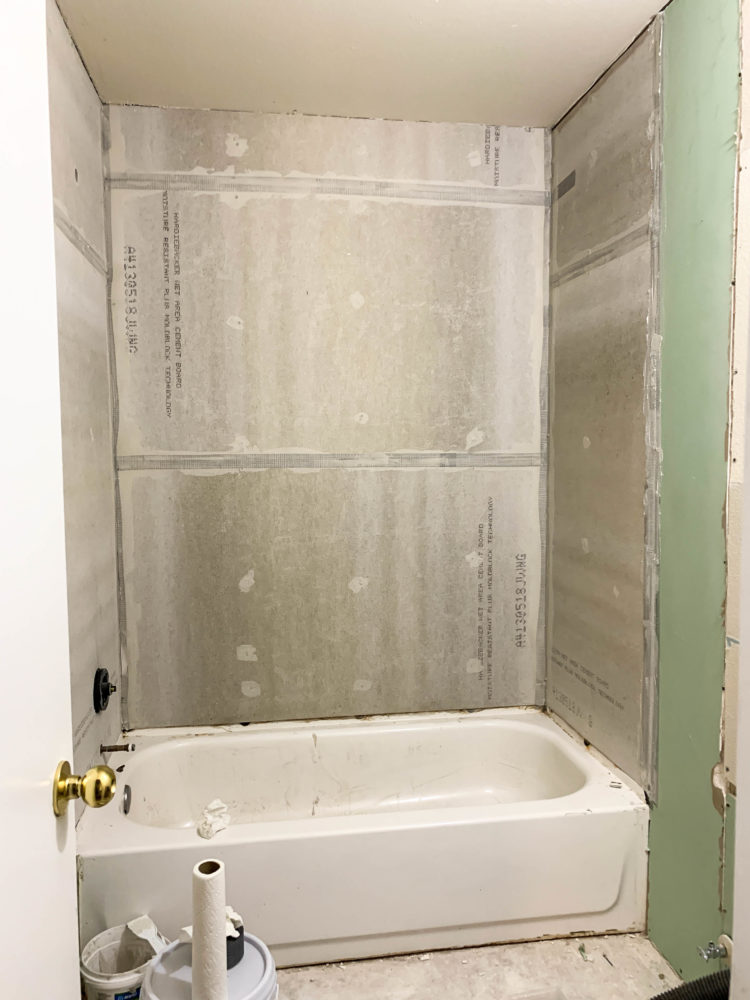
You can see here that we also had a bit of regular drywall to replace in the room. We put up the drywall but haven’t done any taping or patching yet. The walls will need a bit of work before I paint, including taping the drywall, removing some wallpaper that we discovered under the trim, and adding some texture on the new drywall to match the old walls. I’m a bit nervous about making it all look good, but that’s a problem for future Amanda.
Current Amanda is just glad the tiling is done!
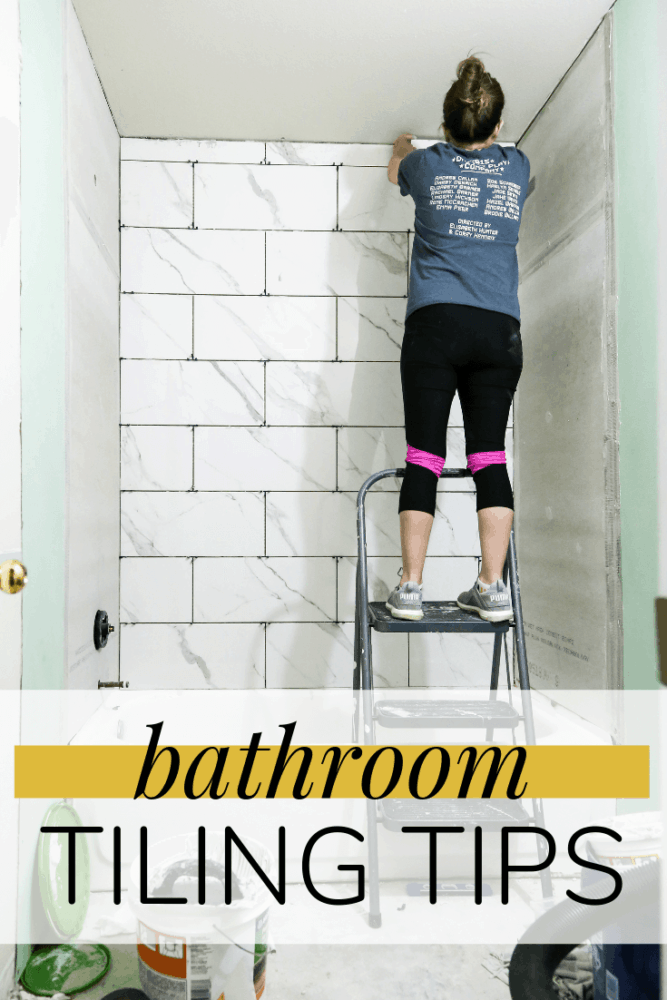
Once all of the concrete backer board was taped and sealed, it was (finally!) time to tile! Here are a few quick tips and thoughts about tiling in a bathroom that will hopefully help you out:
Tips for tiling in a bathroom
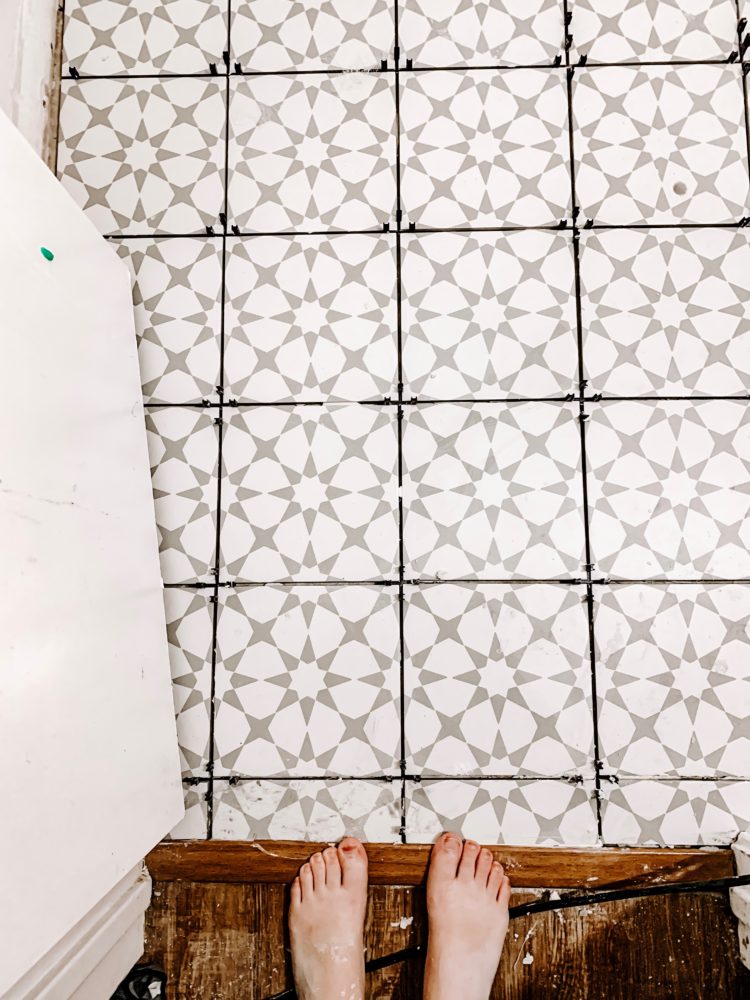
- As a reminder, we’re using this tile in the shower and this tile on the flooring.
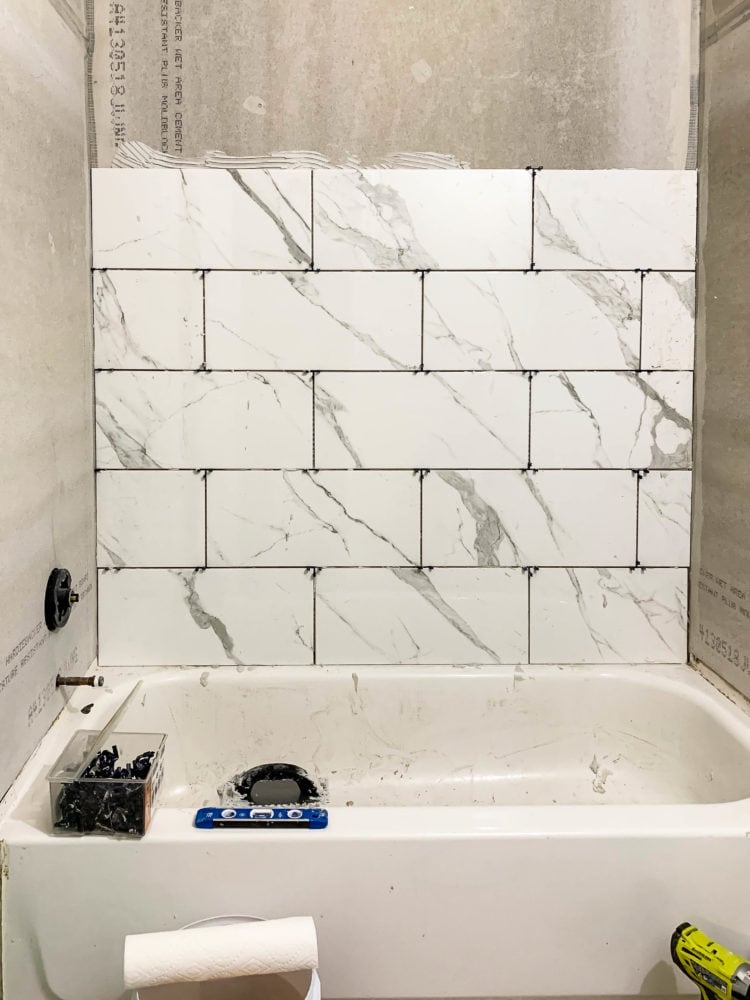
- It’s much less messy to apply the mortar to the tile and not the wall. It took me a long time to learn this, and it’s especially effective with large-scale tile like the ones we used in the shower. When you’re applying mortar on the wall, it can often drip down and create a mess on the tiles below it and in the bathtub (or floor). Instead, just apply some mortar to the tile then put it on the wall.
- If you need to cut a hole for the bathtub or shower faucet, you can just attach one of these simple hole saw bits to your regular drill. It’s incredible easy (I was honestly surprised), and the bit costs less than $20!
- Be sure to lay out a row of tile in both the shower and on the floor to dry fit it before you install anything. It would be terrible to just start installing and then realize that the last tile in one of your rows will only need to be 1″ thick! Just lay them on the floor to get a general idea of what the sizing will be, and as long as one side isn’t absurdly short, you’ll be fine.
- If you need to stop for longer than an hour or so, take the time to clean up your work area. Use a bucket of water and a wet washcloth to scrub any of the drippy mortar from the bathtub and the tiles you’ve already installed. It’s a huge pain to scrape it off once it’s fully dried, but it’s easy before it sets. I had to do this a few different times, since I was mostly working after the kids were in bed or during nap times.
- Use a level as you work to be sure each row you lay is level, and you can also use it along the ends to be sure the row going up the wall is level too. We’ll be installing some trim pieces to finish out the bathtub surround, so it was important that the main tile was laid in a perfectly straight line.
- If you have a small bathroom, consider a large-scale tile! As soon as I started tiling, I notice how much bigger the bathroom felt with the large tiles in the shower. It feels so luxurious, and I love how it looks.
I cannot emphasize enough how excited I am about how this bathroom is coming together. This tile is beyond gorgeous, and I’m pretty thrilled with our choices.
On the agenda this week is grouting (which will make aaaaall the difference!), installing the tub and shower faucets, and hopefully getting the toilet installed so we can have more than one functioning bathroom again!
Be sure to go check out the progress from the other designers, and this is the first week you can VOTE for your favorite (which is us, right?). I can’t tell you how much I’d appreciate if you’d click over and vote for us!
The post Bathroom Tiling Tips Bathroom Renovation Week 3 appeared first on Love & Renovations.